
A Question of Philosophy

So with some fine weather at the beginning of the week I finally got round to installing the turnstile antenna for NOAA weather satellite reception. Took far too long as I had a very dodgy piece of coax. The antenna sits on the top of the mast holding my Cobweb antenna. Routing the cables fairly discreetly means it’s about a 30m run and I had a length of cable just perfect. However despite both inner and outer continuity both ends, and working fine when tested with a dummy load the cable had an issue when feeding the antenna. Signals were far too low and the swr curve did not look right at all. Search me why though…..
So that cable was binned and I ended up using about 3x10m lengths of RG213. Anyway……results were fine but it was interesting to note that at some positions of a pass the V2000 at 3m height had an advantage over the turnstile at 7/8m high. They are separated by around 10m and obviously have different views of the sky and the blocking objects such as trees, building etc. Overall I would say the turnstile has a slight advantage though if you can only use a low vertical co-linear then you’ll be doing just fine and not missing much.
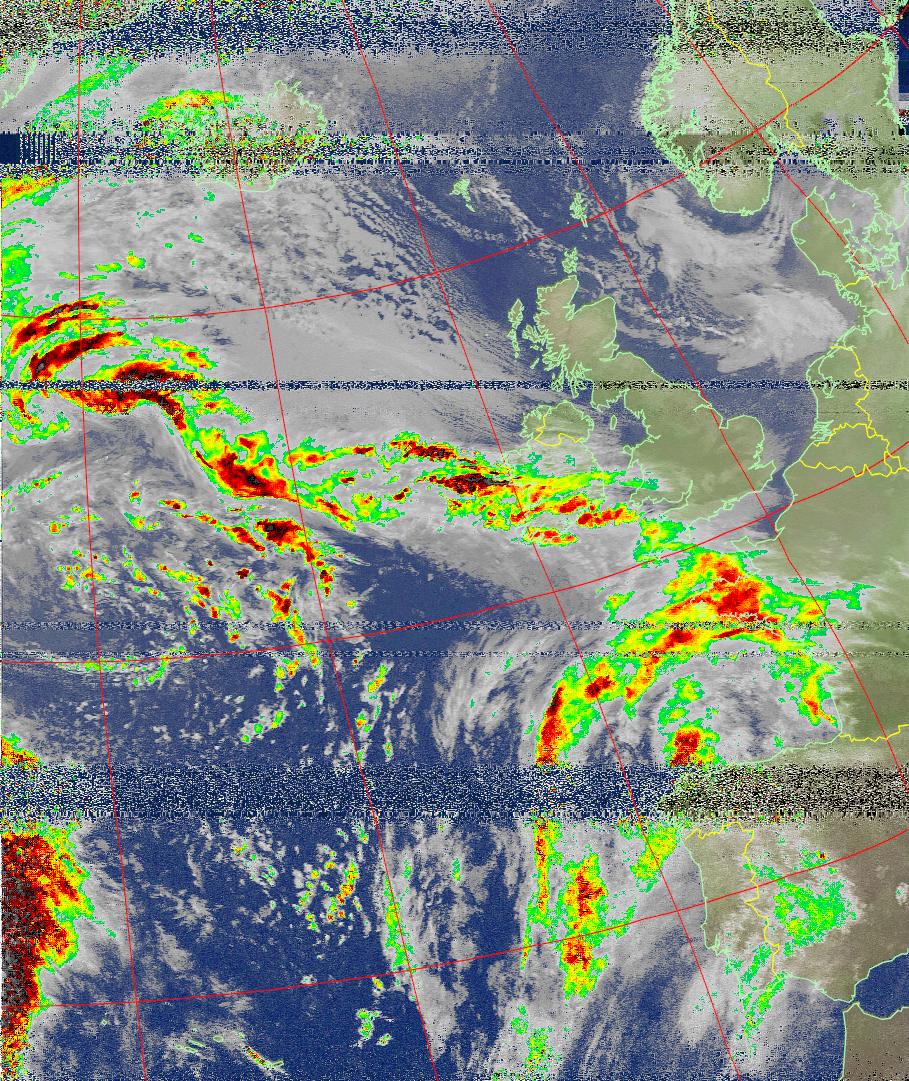
Here’s an example of a pass using the turnstile twig.

I’ve started uploading decoded satellite images directly to a dedicated website. The pc version of wxtoimg supports this very well – automatically decoding and ftp’ing images after each pass using a supplied html template. If I could find a way for the Raspberry Pi command line version to do this we’d be quids in…Here’s the dedicated website: Weather Satellite Images
So I noted yesterday that the MCIR with Precipitation image enhancement was not “with precipitation” as there was no colour. It was imply MCIR enhancement. Now wxtoimg comes in three flavours: Standard, Standard registered and Professional. Back in the day I had paid for a Professional key and I had entered that into my PC version and all was fine. Incidentally Standard and Professional keys are freely available on https://wxtoimgrestored.xyz/downloads/. Seems like the author of wxtoimg has lost interest in it and abandoned the project and is happy for the keys to be in the public domain.
Now the MCIR with precipitation enhancement is only available in the professional version. So how to enter the unlock key into my command line Raspberry Pi wxtoimg version?
I have not seen the following information reported before. To get the professional version running on the Pi here are the steps.
Firstly you need to log into the Pi via a graphical interface. I use VNC Viewer on the PC. If you are running your Pi headless like me (i.e. normally using a terminal to log in, putty in my case) you will get the message “Can not display desktop”. The solution is to either plug a hdml cable into the Pi (doesn’t have to be connected to a monitor) or, more elegantly, to use raspi-config to change the default low resolution to the highest you are offered.
Once you are logged in you have to launch wxtoimg in graphical mode by either running “wxtoimg -G” or xwxtoimg. You can then click “help/enter upgrade key” and your standard unregistered copy become a professional version with all enhancements unlocked. But…………………………………… After you log out and close the program down when you restart it the registration details have disappeared and it has reverted back to the unregistered standard version. The answer is to run “sudo wxtoming -G” and enter the relevant credentials. But there is another but………………….Subsequently you always have to use sudo to launch the program or else you are running the unregistered version…………wtf!
So in the scripts which launch wxtomimg to decode the passes on the Pi I have prefaced the wxtoing calls with sudo, e.g.
sudo /usr/local/bin/wxtoimg -m ${3}-map.png -c -e MCIR-precip $3.wav $3.MCIR-precip.png
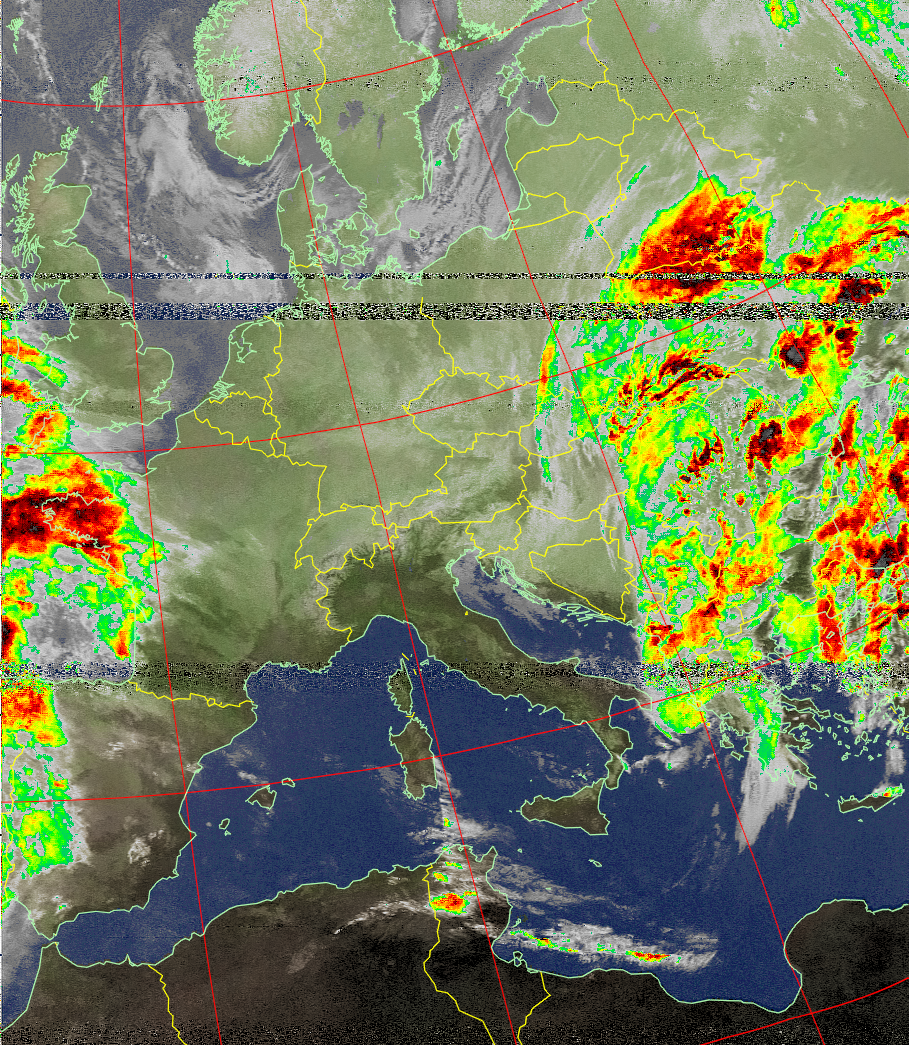
And finally you really can get the MCIR with precipitation enhancement!!! See below for a couple from this morning:
Well what a faf de klerk! Still we got there in the end.
With regard to the Pi images seeming cleaner I think this may be to do with the Pi recording the pass at 60 kHz bandwidth (the value in the script I copied) whereas on the PC I was setting bandwidth to 34 kHz.
I followed the instructions on this site https://www.instructables.com/Raspberry-Pi-NOAA-Weather-Satellite-Receiver/ to install all the software required on my new model 4b. There’s an issue with the software used to predict the passes (oddly enough called predict) which requires an additional 3 files to be installed or you’ll never initialise the program with your latitude/longitude details. These are:
wget https://raw.githubusercontent.com/kd2bd/predict/master/default/predict.dbwget https://raw.githubusercontent.com/kd2bd/predict/master/default/predict.tlewget https://raw.githubusercontent.com/kd2bd/predict/master/default/predict.qth
and put into the same directory as predict itself; namely ~/.predict
My Nooelec/Sawbird+NOAA combination was plugged into one of the Pi’s USB3 sockets, antenna connected (still Diamond V2000) and the wait was on for the passes to arrive. The first two passes scheduled were low northbound with maximum elevation of only 29 degrees. You can see the results below:

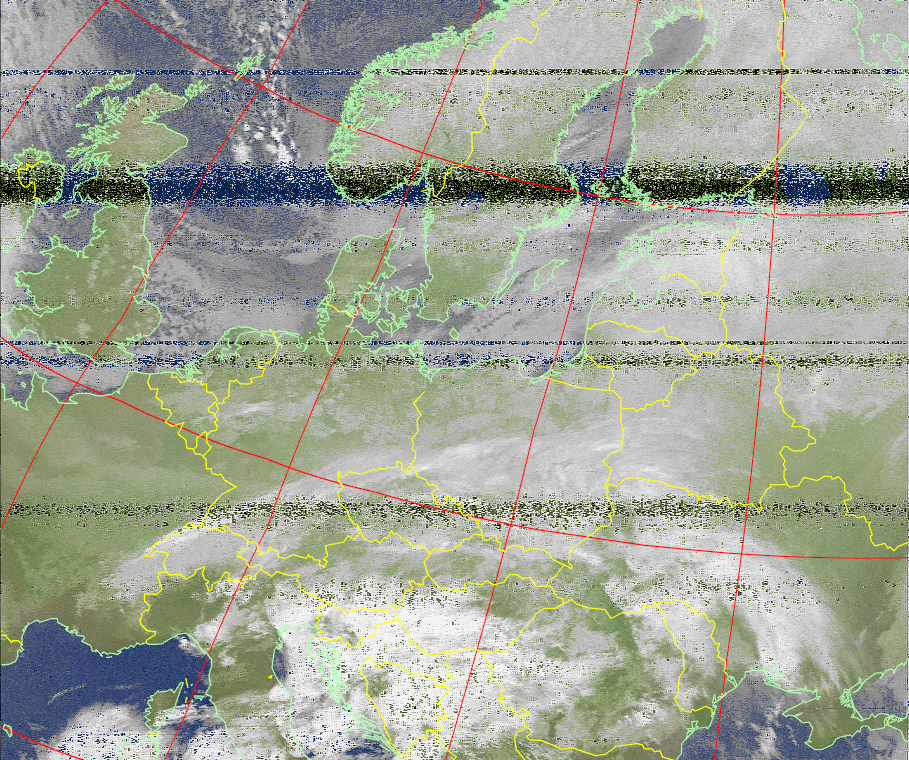
The next two passes were higher with maximum elevations of 63 degrees.

So – excellent results! That really concludes the indoor experiments. Sure I may add some code to upload automatically images to this blog – maybe a specific page. And of course add a 7″ screen to the Pi to display the images. I need to get that turnstile antenna assembled and installed though!
In conclusion it is a bit of a faf to receive weather satellite images on the Pi. There is far more work involved than on a PC. And that is even with the three scripts used already being written for you to use or modify as you wish (incidentally some of the comments on the web site I linked to earlier are pretty good, and you learn more about how to fine-tune the set-up). However the convenience of having the Pi tucked away somewhere on the floor, behind the desk, with the small Nooelec devices attached with the antenna lead-in, are large. You don’t have to tie your PC up when it could be doing something else – like recording the MF band overnight for example!
N.B.
Couple of things I’m wondering about and need further investigation. Firstly the Pi images seem to be “cleaned-up” when compared with the same images obtained by loading the wav file into the PC version of wxtoimg. Secondly the images I’ve labeled as MCIR with precipitation enhancement don’t appear to be that enhancement (there is no colour). Watch this space…
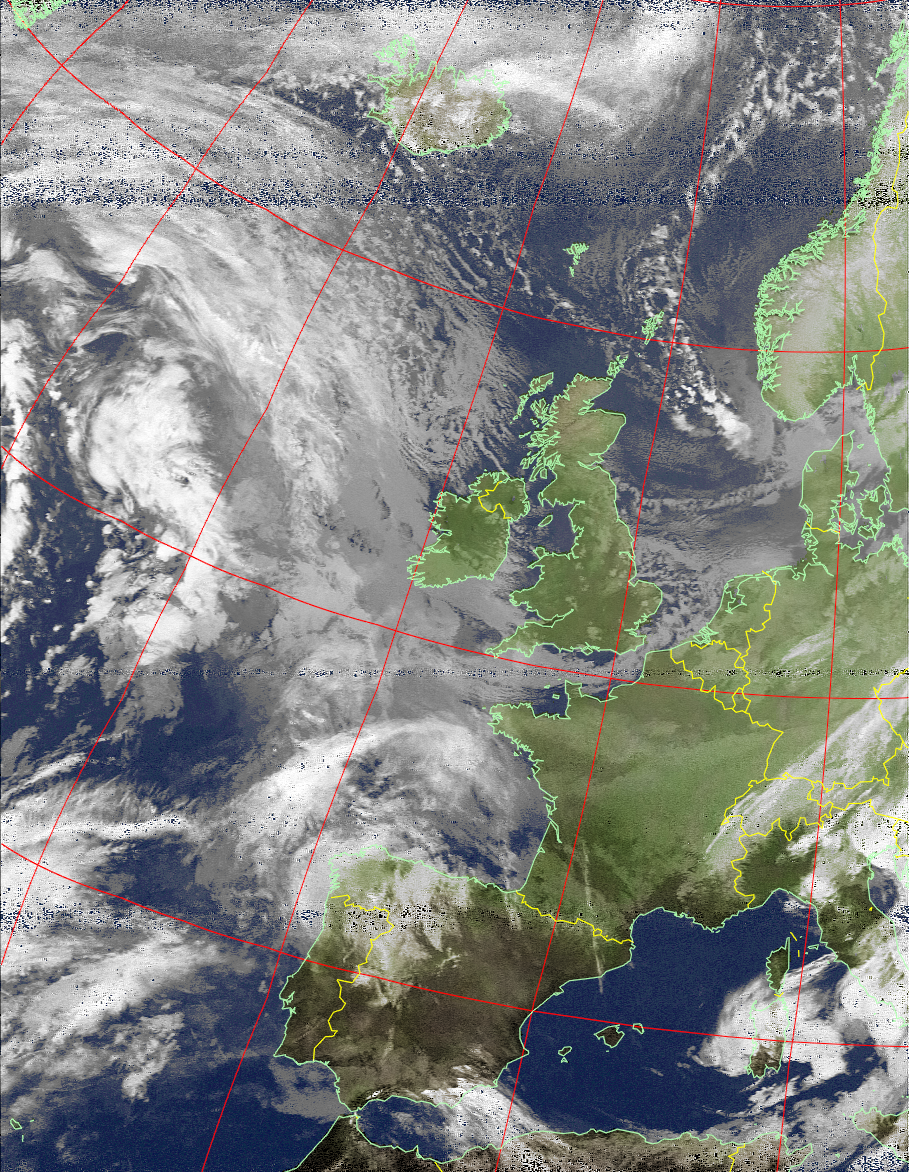
So the final test for pc reception was using the Nooelec SmarTee V2 with the Nooelec Sawbird+ NOAA 137 MHz pre-amp and filter. The results are shown in the two images below. Pretty darn good I think you’ll agree!
The filter appears to clean-up the image once you have a decent signal. Superb performance for the Smartee combination.


That concludes the PC tests. Next indoor steps are to get the Raspberry Pi 4b decoding passes with the SmarTee/Sawbird combo and outdoors to get the turnstile antenna up.